I recently discovered that I had a model rocket kit in my closet. Naturally, I had to try it out! The kit (by Estes) came with parts to build a launchpad and a rocket.
First, I had to glue a couple of pieces together to create a shaft for the engine. I decided to use an A8-3 engine, which can reach an altitude of about 275 ft. In the image to the right you can see the engine, starter, and plug.
Next, I had to stuff recovery wadding into the body tube. This wadding is able to protect the parachute from any heat emitted by the engine. I then attached a shock cord to the body tube and nose cone, and inserted the parachute into the tube as well. It is very important that the parachute is folded and inserted correctly to make sure that the recovery system works. The shock cord is also part of the recovery system, as it connects the parachute, nose cone, and body tube.


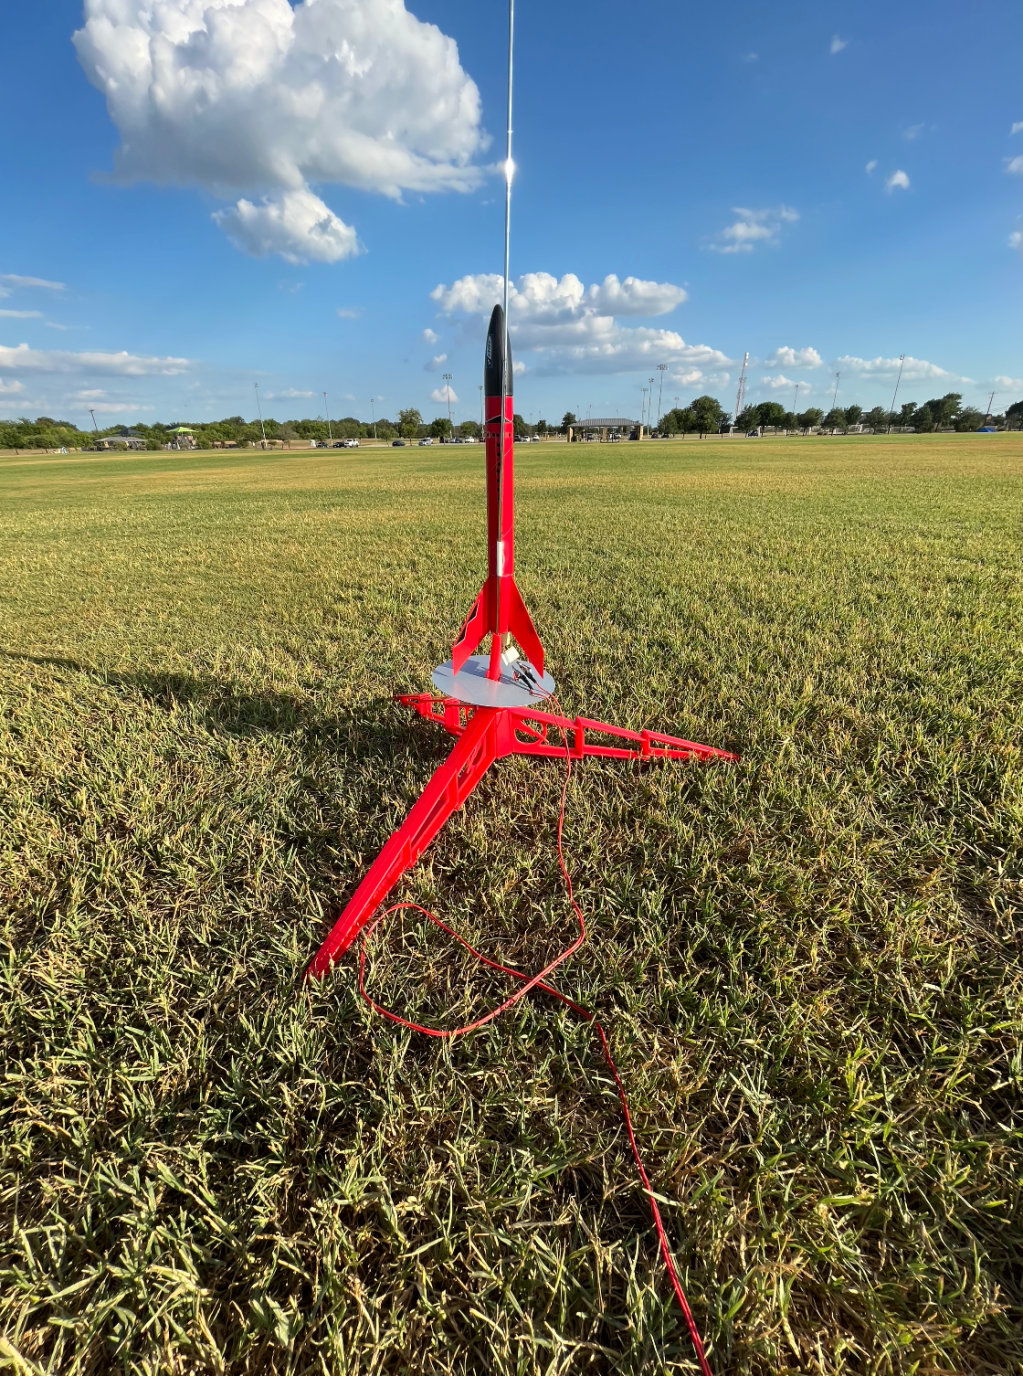
Once I had assembled the rocket, I went to a nearby park for the launch. The launchpad was very easy to set up, as I only had to combine a couple of pieces. Another important step for the launch is to attach the launch lug. This straw-like component is glued onto the rocket to make sure that the rocket’s ascent is as straight as possible.
I also had to attach 2 wires to the starter at the bottom of the engine. Electricity from batteries in the controller are able to spark and ignite the engine. The thrust from the ignited engine creates an opposing reaction, causing the rocket to launch and LIFTOFF!


